REVIEW · GHENT
Private Historical Tour: The Best of Ghent
Book on Viator →Operated by Gent Free Walking Tour · Bookable on Viator
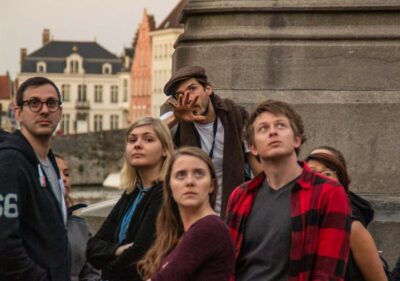
Ghent tells its story one step at a time. This private, 2-hour walk is built around the places that made Ghent (Gent) powerful in medieval trade, then sticks the landing with the city’s symbols like the Belfry. I love the private format with a local professional guide who can tailor questions as you walk.
I also like how the route jumps from big-picture geography to small human details, so you leave with more than photos. From the three-tower skyline view to the darker tales tied to places like the Butchers’ Hall, the facts come with context that makes the city’s layout click.
One consideration: most stops are ticket-free during the walk, so if you want to go inside major sites, plan on separate entries or a historical pass. That can make the experience feel pricey if you expected full access everywhere.
In This Review
- Key highlights at a glance
- Why Ghent’s medieval streets work so well on foot
- Price and what you get for about $105.82 per person
- St Michael’s Bridge: the best first stop for Ghent’s tower skyline
- Graslei and Korenlei: where port life left its mark
- The Design Museum area: the rebel streak behind Gentenaars pride
- Het Groot Vleeshuis: the view and the darker stories
- Gravensteen and St Veerleplein: a castle inside the city
- Huis van Alijn, Vrijdagmarkt, and Werregarenstraat: people and rules
- Ghent Town Hall, St Bavo’s Cathedral, and the Belfry’s story-power
- The finish at St Nicholas: merchants, sailors, and Korenmarkt views
- How the guides tend to shape the experience
- Food, tickets, and what you’ll see from the outside
- Who should book this private Best of Ghent tour
- Should you book this private Best of Ghent tour?
- FAQ
- How long is the private historical tour?
- Is this tour private?
- Where does the tour start and where does it end?
- What languages are available?
- Is hotel pick up and drop off included?
- Are there admission tickets included for the stops?
- What’s the cancellation policy?
Key highlights at a glance
- St Michael’s Bridge gives the best quick skyline briefing of Ghent’s tower story
- Graslei and Korenlei connect the canals to medieval port life
- Het Groot Vleeshuis pairs iconic views with less-than-squeaky historical truths
- Gravensteen and St Veerleplein explain why these spaces feel both deadly and alive
- St Bavo’s Cathedral and the Belfry tie Ghent’s pride to art and civic power
- St Nicholas church closes the tour with the merchant-sailor patronage theme
Why Ghent’s medieval streets work so well on foot
Ghent is the kind of city where your feet do the sightseeing. The canal edges, church fronts, and castle keep are close enough that a tight route can cover the main “why” behind the look of the city.
On this tour, the walking pace stays modest and the stops are brief but focused. You’ll move between landmarks that would take forever to connect on your own, especially if it’s your first day in Ghent.
You can also read our reviews of more private tours in Ghent


Price and what you get for about $105.82 per person
At $105.82 per person for roughly two hours, this isn’t a budget stroll. You’re paying for a private guide experience, plus things like a local professional guide and hotel pick up and drop off (when offered for your booking).
Here’s the value equation I’d use: if you want a guided “map in your head” and you only have a short window in Ghent, a private format can be worth it. If you’re traveling with enough people to make a small-group tour work, you may prefer that route—especially if you know you’ll want to spend time inside multiple sites on your own afterward.
St Michael’s Bridge: the best first stop for Ghent’s tower skyline
You start at Hostel Uppelink, at Sint-Michielsplein 21, and your walk begins with St Michael’s Bridge. This is a smart opener because it lets your guide point out the medieval trading power of Ghent before you even get deep into the center.
You also get a quick lesson on the three towers that shape the Ghent skyline and are best visible from this spot. It’s the kind of orientation that makes the rest of the tour easier to follow—plus it’s a good “reset” moment if you arrive a bit stressed from travel.
Practical note: this first segment is about 15 minutes. Keep your camera ready, but don’t spend the whole time shooting. The guide’s explanation is the real payoff.
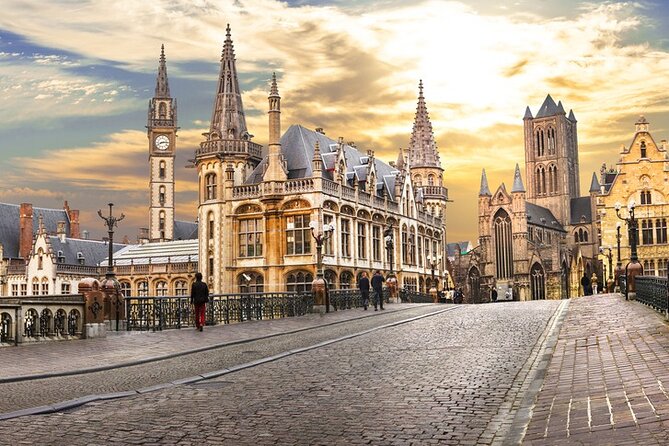
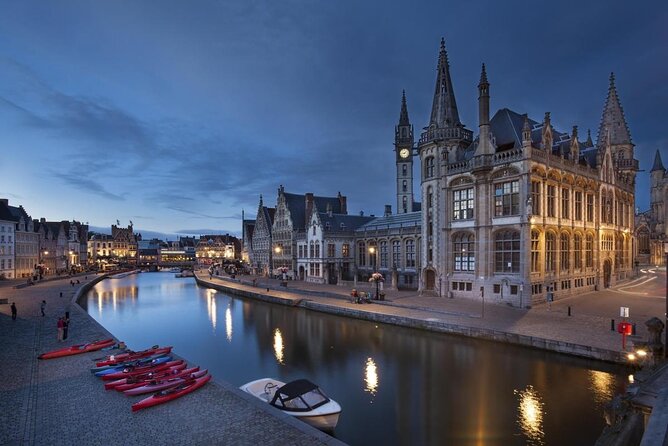
Graslei and Korenlei: where port life left its mark
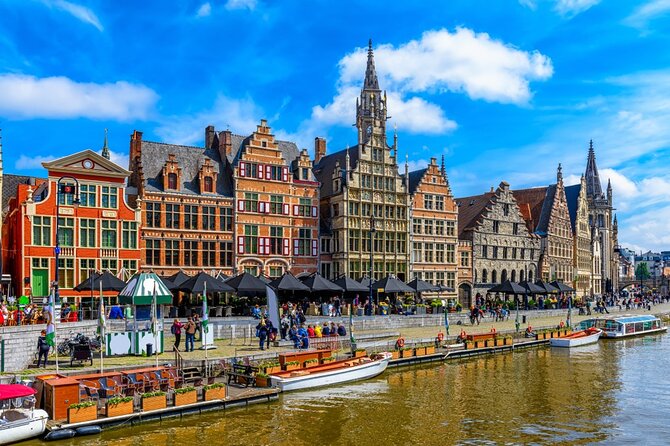
Next up are Graslei and Korenlei, the heartbeat of the historic city center. Your guide connects this canal-front area to Ghent’s role as a trading hub, pointing out which buildings relate to port activity.
Why I like this stop: it turns “pretty old buildings” into something you can picture in motion. When you understand that this area functioned like a city port, the architecture starts telling a story instead of just looking decorative.
This section is short—about 10 minutes—so it works best if you stay mentally tuned in. Ask your guide one question here, and you’ll get more out of every later stop.
The Design Museum area: the rebel streak behind Gentenaars pride
In the middle of the walk, you’ll also hear about a specific aspect tied to the Design Museum and what it symbolizes about the stubborn, rebellious mindset of the Gentenaars. Even if you’re not planning to enter a museum, this point matters because it shows how Ghent’s identity keeps pushing back against conformity.
This is one of those cultural “glue” stops. It helps you understand why citizens have historically guarded their independence, which later echoes in places like the town hall and the Belfry.
If you’re a design fan, you may want to circle back after the tour on your own time.
You can also read our reviews of more historical tours in Ghent


Het Groot Vleeshuis: the view and the darker stories
Then you cross the water visually to Het Groot Vleeshuis, the Great Butchers’ Hall. From here, your guide frames the building as majestic—but then adds the darker side of how this kind of medieval industry worked.
This stop is about 10 minutes. It’s not just history for history’s sake. You get a better sense of how Ghent’s wealth, labor, and power were tied together, even when the “official” story sounds polished.
If you’re sensitive to grim topics, this is the place where your guide’s tone matters. Still, it’s worth hearing, because it’s part of why Ghent feels real instead of theme-park neat.
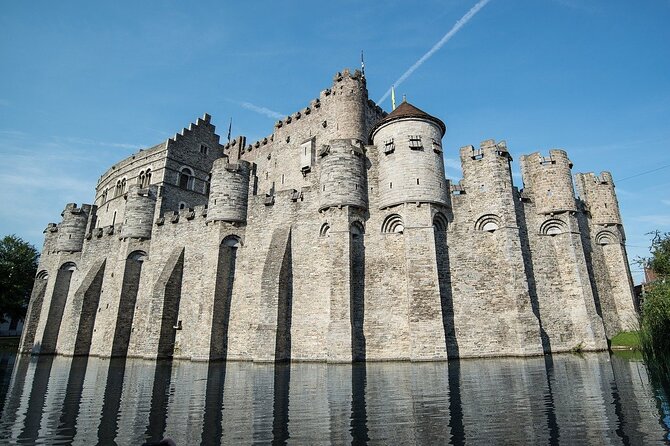
Gravensteen and St Veerleplein: a castle inside the city
Gravensteen is a standout because it’s not tucked away on the edge like many castles. It sits right in the middle of Ghent and is described as very well preserved—perfect for understanding how medieval power lived in everyday sightlines.
From there, you move to St Veerleplein, a square known as both the square of death and the square of life. That sounds dramatic, and your guide will explain why—bringing the site’s symbolism into focus in about 10 minutes.
I like this pairing because it gives you two angles on the same theme: control and consequences, then the flip side of survival and community life.
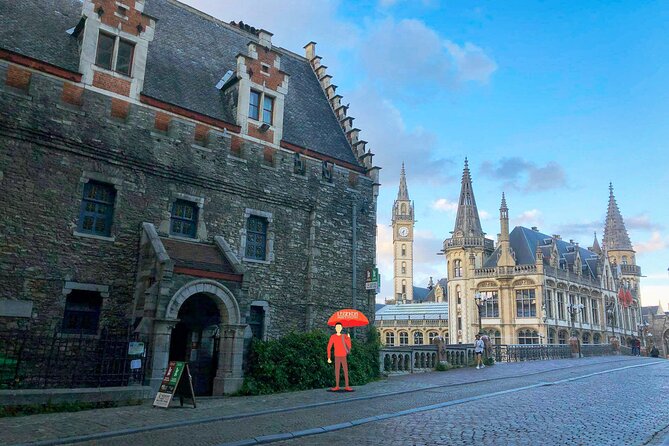
Huis van Alijn, Vrijdagmarkt, and Werregarenstraat: people and rules
The walk continues with a fascinating trio.
At Huis van Alijn, you’ll learn that it used to function as a hospital, and it’s described as the only remaining “god house” in Ghent. This stop is short (about 10 minutes), but it adds a human layer. You’re not only looking at power—you’re seeing how care and charity were built into the city’s fabric.
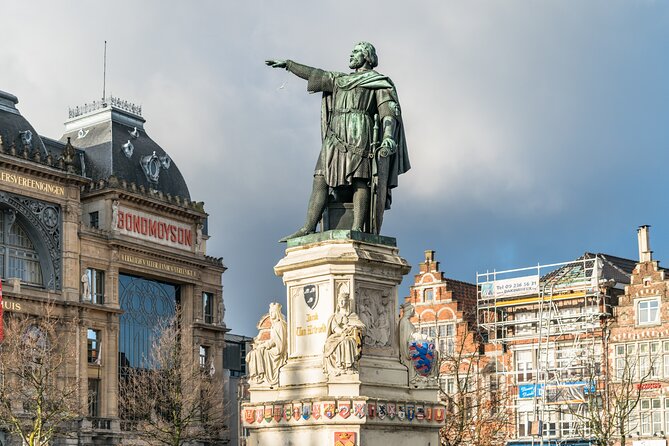
Then comes Vrijdagmarkt, a square with prominent history and a statue at its center. Expect another 10-minute burst of civic storytelling, where the guide connects location to local memory.
After that, Werregarenstraat shows you how the city manages street art. This is the designated area where street artists can work, partly to keep monumental buildings from getting sprayed with graffiti. In about 10 minutes, you’ll see how Ghent negotiates between preservation and modern expression.
If you care about “how a city works today,” this block is a nice mix. It’s not only medieval—Ghent keeps regulating its spaces in real time.
Ghent Town Hall, St Bavo’s Cathedral, and the Belfry’s story-power
At Ghent Town Hall (Stadhuis), the guide explains why the building looks a little confused. That’s an odd detail to lead with, but it sets up the idea that Ghent’s civic history included conflict and competing forces, not just one smooth narrative.
This stop is brief (about 5 minutes), so don’t treat it like a photo break. The story is the point.
Next, St Bavo’s Cathedral brings in major art. You’ll hear about the cathedral’s long arc and its art treasures, especially the world-famous Ghent Altarpiece by the brothers Van Eyck. This is about 10 minutes, and it’s a good way to connect Ghent’s civic independence to its cultural muscle.
Finally, you reach Het Belfort van Gent (the Belfry). The Belfry is described as the people’s tower—tied to stubbornness, power, and independence. You’ll also hear how its façade relates to its past as a prison, plus a bizarre legend your guide shares.
The Belfry stop is about 5 minutes. That’s short, but it’s still enough to understand the meaning. Once you grasp that “people’s tower” idea, the building feels less like a landmark and more like an argument the city made with stone.
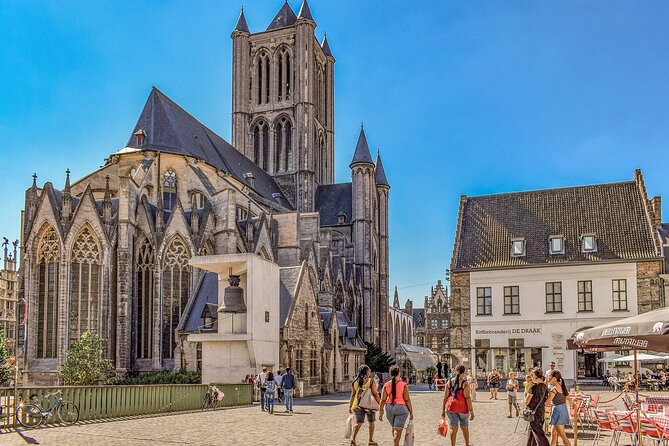
The finish at St Nicholas: merchants, sailors, and Korenmarkt views
The tour ends with Esglesia de Sant Nicolau, an early 12th-century church overlooking Korenmarkt. Your guide ties the building to St Nicholas, the protector of merchants and sailors, and explains how the façade reflects the legend linked to that patron saint.
This is about 10 minutes, and it works as a satisfying conclusion because it completes the tour’s trading theme. The route started with port life and skyline power; it ends with a church tied to protection for commerce.
It also gives you a natural place to keep exploring on your own afterward, with Korenmarkt nearby and the city center right there.
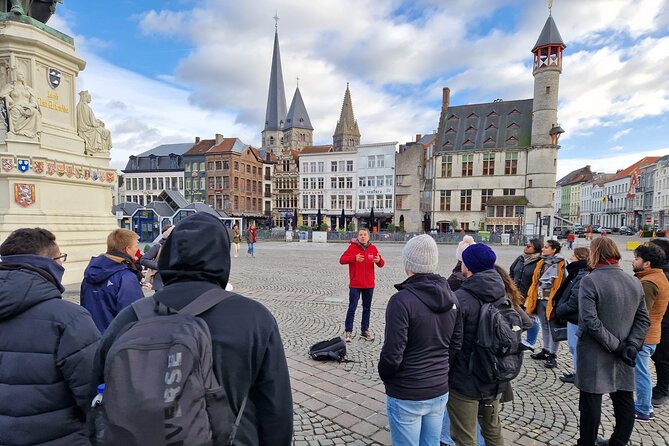
How the guides tend to shape the experience
This tour is private and guided, so the personality of the person leading you matters. And the names that show up in guide praise give you a hint at the tour’s style: people often highlight guides like Kenny, Camila, Hans, Maria, Onur, Arn, Julien, Alex, Sonia, Sebastian, and Kasia for mixing clear explanations with humor and easy conversation.
One thing I’d watch for in any private city tour: pacing. This format should feel flexible. If you’re walking slower, the guide should accommodate you, and some guides like Hans have been praised for doing exactly that.
If you want a more “talk to your guide” style experience, go in with a couple of questions ready. What did Ghent trade? Why are these buildings where they are? How does a city become independent in the first place? Your guide can connect those dots fast.
Food, tickets, and what you’ll see from the outside
During the walk, the stops are marked as ticket-free in the tour flow. That usually means you’ll focus on viewpoints and storytelling rather than spending time buying and entering every major site.
Still, don’t assume you’ll get inside every attraction. One key practical point: if you’re aiming to enter places like the cathedral area, or want deeper access to interiors, you may need separate entries or a historical pass you arrange yourself. If that matters to your day plan, build time for it before or after the tour.
Food and drinks aren’t included unless specified, so I’d plan a meal either before you start or after you finish at the Belfry.
Who should book this private Best of Ghent tour
Book it if you want:
- a fast way to understand Ghent’s medieval structure and civic power
- a private guide who can answer your questions as you walk
- a tight 2-hour route that covers the big names: Gravensteen, St Bavo’s Cathedral, and the Belfry
- orientation help, especially if you’re short on time
You might rethink it if:
- you’re only interested in museum interiors and long ticket lines
- you want a cheaper option where you can buy separate entries at your own pace
- you expect the tour to run perfectly at a precise start time without any schedule changes
Should you book this private Best of Ghent tour?
Yes—if you’re using Ghent as a priority stop and you want the city to make sense quickly. The strongest reason to book is the way the tour connects views to meaning: towers to trade, port buildings to civic identity, and civic symbols to art and local legend.
I’d book this particularly if you’re the kind of traveler who likes getting the story behind what you’re seeing, not just snapping pictures. And if you care about entering sites, check your plan ahead of time so you’re not disappointed when you realize this is mainly an outside walking tour with ticket-free stops.
FAQ
How long is the private historical tour?
It runs for about 2 hours.
Is this tour private?
Yes. It is a private tour/activity, restricted to your group.
Where does the tour start and where does it end?
The tour starts at Hostel Uppelink, Sint-Michielsplein 21, 9000 Gent, Belgium, and it ends in front of the Belfry of Ghent at Sint-Baafsplein, 9000 Gent, Belgium.
What languages are available?
The experience is offered in multiple languages, with English available.
Is hotel pick up and drop off included?
Yes, hotel pick up and drop off are included.
Are there admission tickets included for the stops?
The stops are listed as admission ticket free during the tour, but food and drinks are not included unless specified.
What’s the cancellation policy?
You can cancel for a full refund up to 24 hours in advance of the experience start time.